Let’s start a wonderful journey of sourdough starter ………….
You can make your own starter normally in 7days (but its good if you use your starter once it became mature enough, for a good result bread or loaf).
lets talk about how prepare starter(Levain/wild yeast)
Day 1:
you mix equal amount of flour and water (started with a small amount of 40g flour and 40g water)into a batter in wide open jar or bottle and let them sit at room temperature. Cover with plastic wrap or a lid, and let it rest in a warm spot for 24 hours.
Day 2:
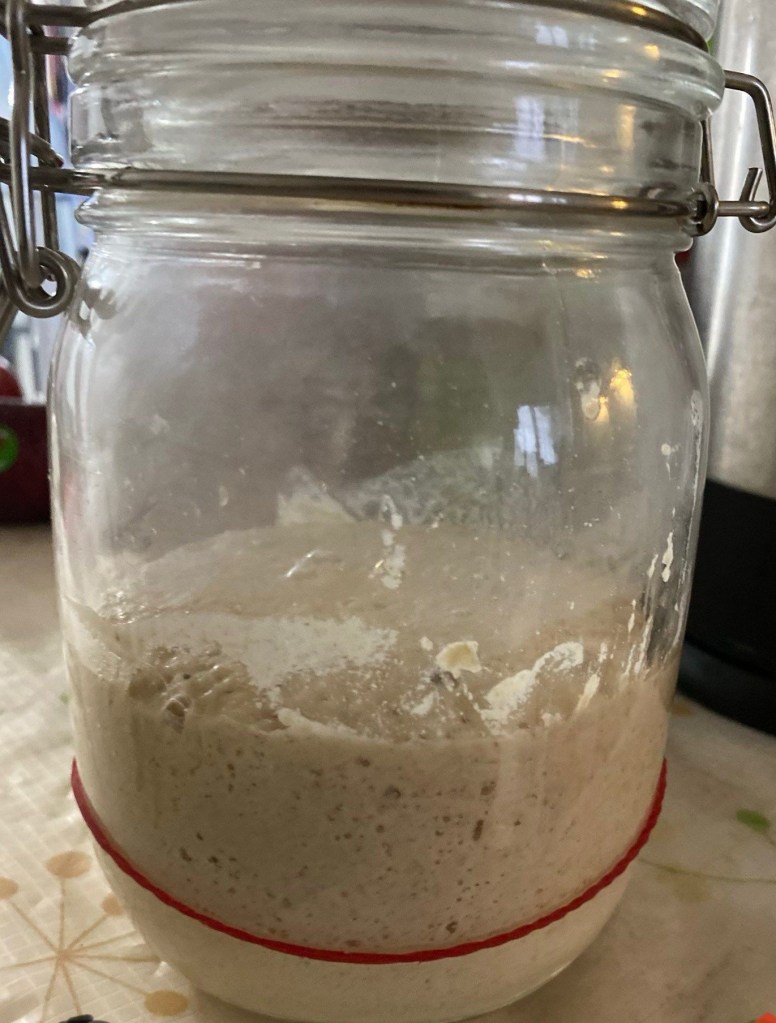
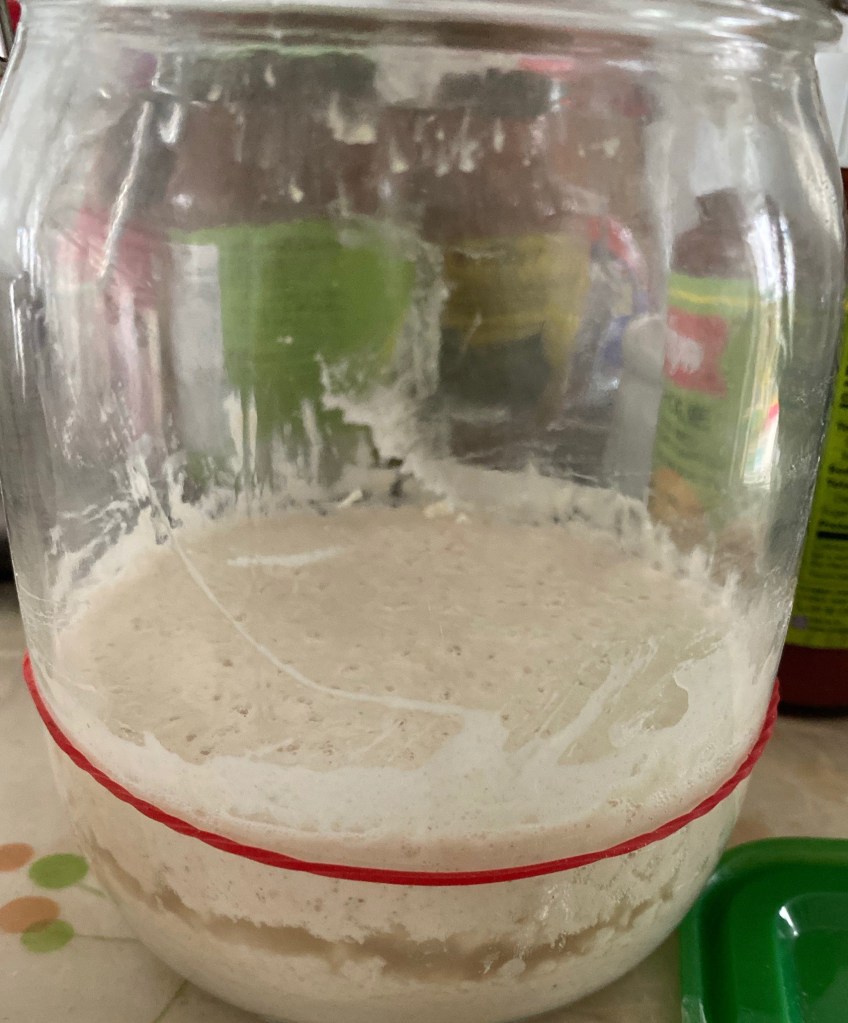
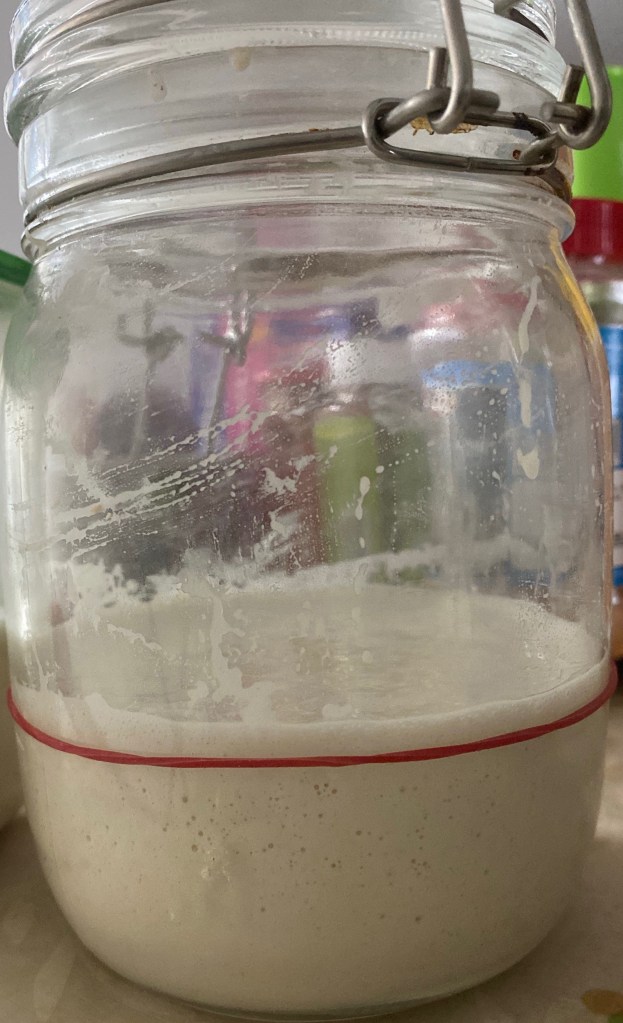
If you see small bubbles have appeared on the surface, bubbles indicate fermentation.Discard some of your batter and fed them again equal quantity of flour and water .let it rest about 12hrs
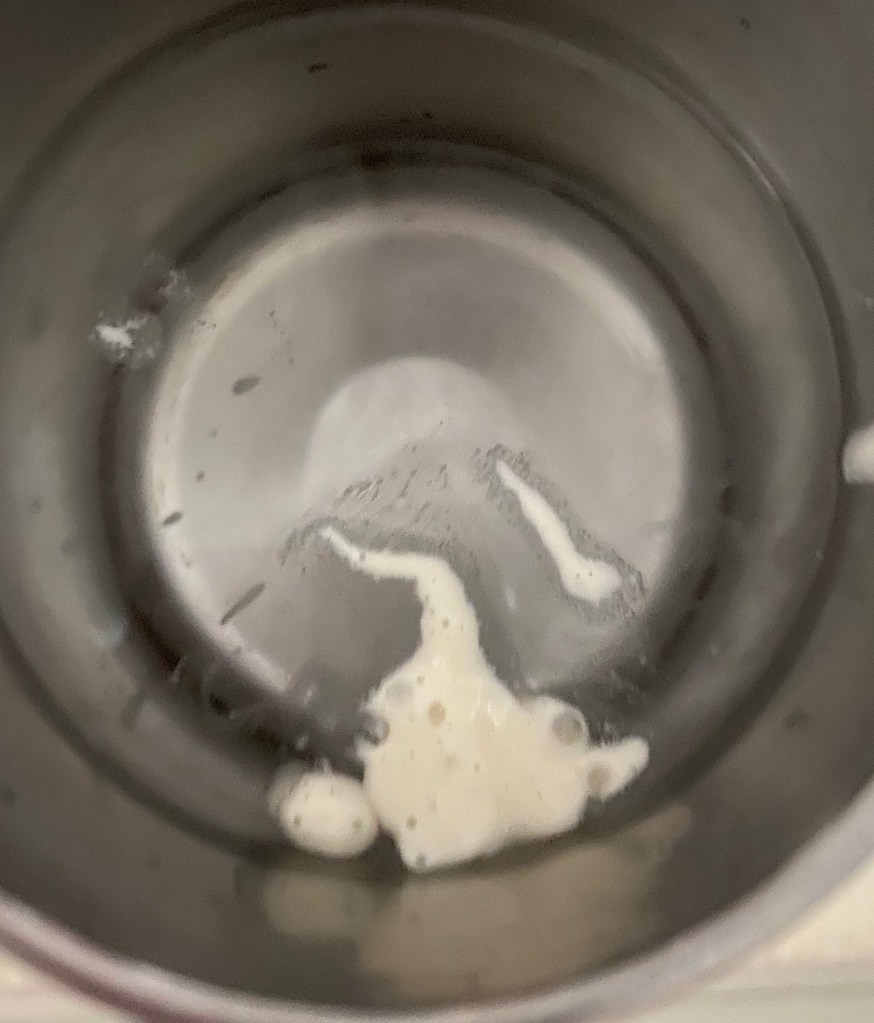
Hooch
Note: During this process, and even after your starter has been established, a dark liquid might appear on the starter . This liquid is called hooch and is an indication that your starter needs to be fed(hungry) .Any time you see this liquid, it’s best to pour it off, along with any discolored starter present. This stage your starter have stinky ,alcoholic smell.No need to worry it’s natural.keep going your feeding
Day 3
To beginning of day 3 remove and discard approximately half of your starter from the jar with a spatula .(The texture will be very stretchy)
Note :Day 1,2,3 you can see a small ,or vigorous rise of your starter.(fee like your starter is dead ,but don’t worry it’s normal for this process )
Day 4,5,6
At this stage day 4,5 you may or may not find and action happening in your starter.But nothing to worry keep on your feeding.
Remove and discard half of the starter, and feed .Continue the process every 12hrs intervals.You can change the feeding ration now 1:2:2(starter:flour:water)or 1:4:4
Day 7
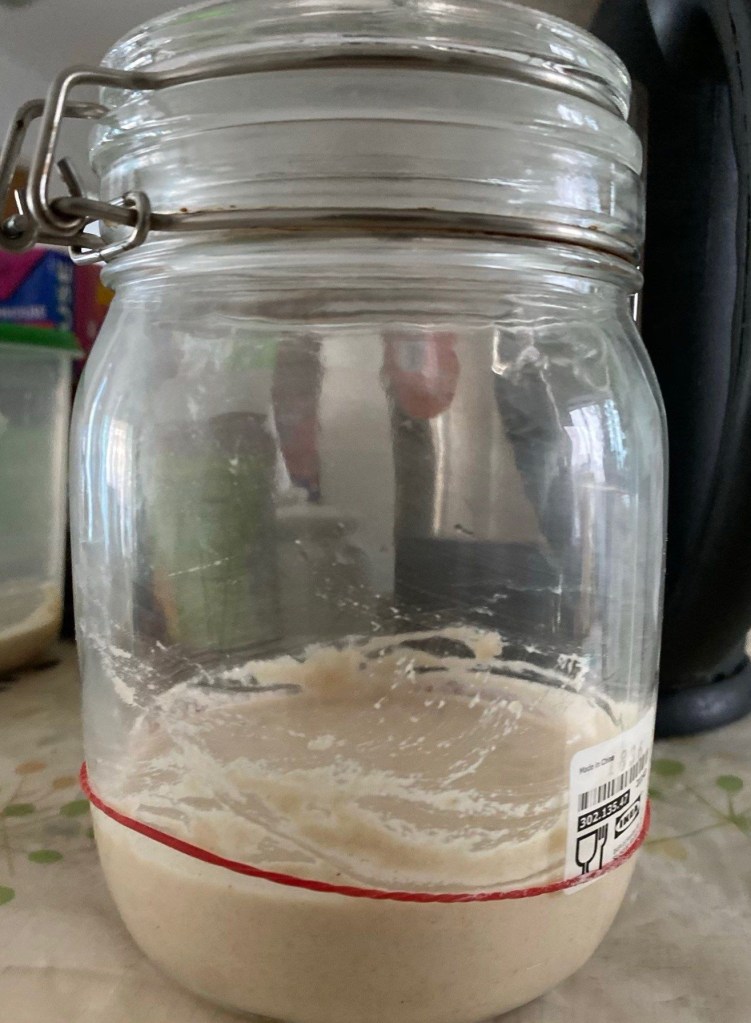
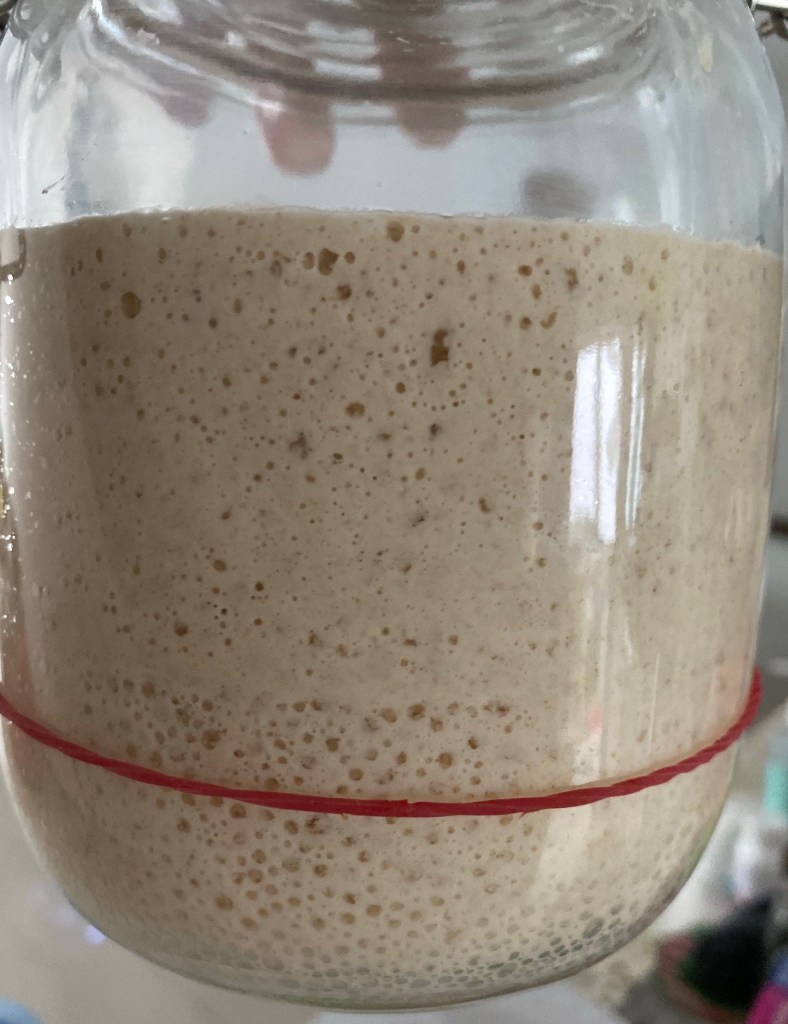
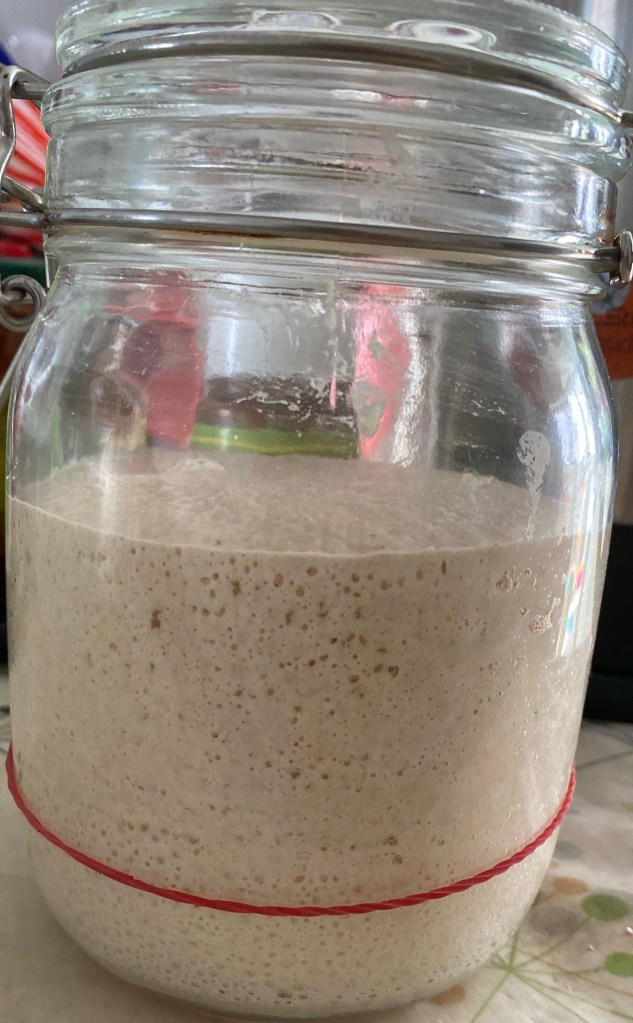
By now, your sourdough starter should have doubled in size with in 2-4 hrs (may be take more time),once the starter reach its peak it will start deflate slowly.(this mean your starter hungry again need to feed )when it reaches its peak you should see plenty of bubbles, both large and small.Day 7 you can perform a float test for your starter to make sure it is ready to go for baking(some times even if starter pass the test ,may be not strong enough to rise your bread,so wait few more days)
Float test
Drop a small amount of starter into a glass of room-temperature water. If it floats the starter passes the test,if it sink ,you either need to let the starter sit longer to develop more bubbles, or feed it again and let it sit until it passes the float test
Note: If your starter is not strong, your bread will not rise.
Day 8,9…
Over the next few days, you’ll need to feed the yeast and bacteria by pouring off some of the culture and adding fresh flour and water. You’ll know it’s ready to use to make bread when the culture becomes very bubbly within just a few hours of feeding, and when it smells sour but fresh.Continue until your start became stronger at-least take 10 -12 days .I made my first bread once the starter become 21 days old.Once you have a starter, you never have to make one again.
Storage
I keep mine in the fridge, and I feed it roughly once a week. When I want to make a loaf of bread, I take it out a few days ahead and feed it once a day to strengthen it again.
Bread making process
There is few steps you have to follow while making the sourdough bread,explained bellow
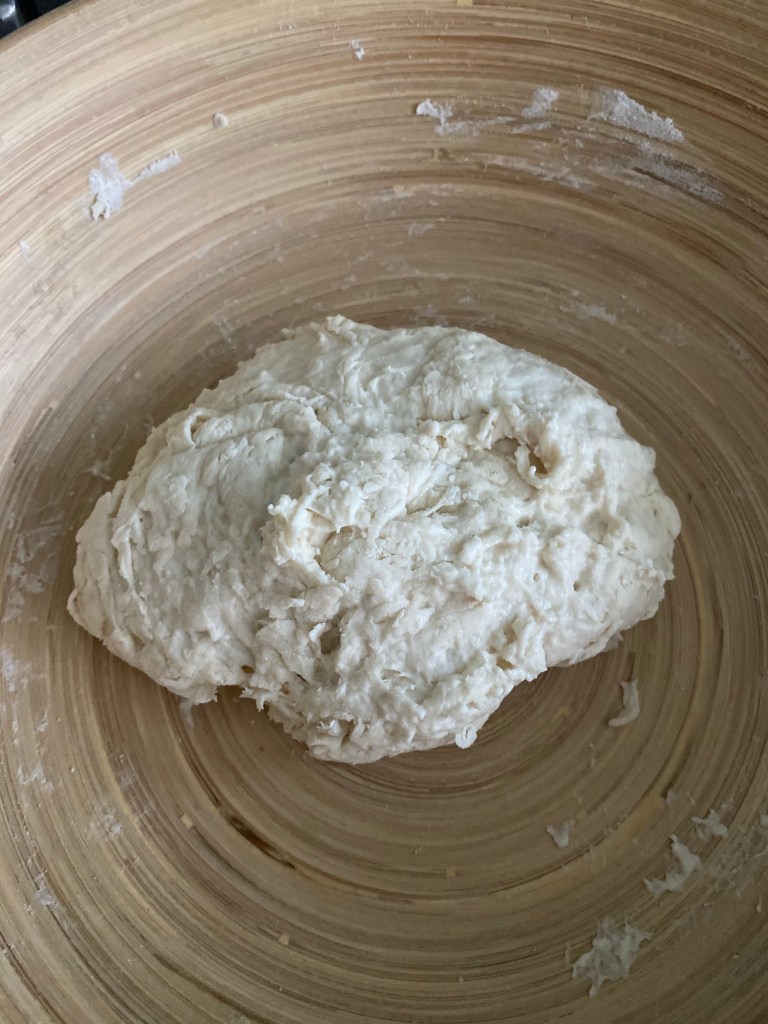
Step 1:The Autolyse
Mix the starter with the flour and water, let it sit for at least 30 minutes or for up to four hours. During this time, the flour absorbs the water and becomes fully hydrated, which helps gluten formation during the next step. After this resting step, mix in the salt. Salt is necessary for a flavorful bread, but can inhibit the activity during the autolyse step.
Step 2:Stretching and folding
After the autolyse, begin folding the dough by grabbing some of the dough from the side, stretching it up, and then folding it over on top of the dough. Do this a few times around the bowl, then let the dough rest about 30 -45 minutes before doing it again. After a few rounds of this(3to4 rounds)the dough will go from shaggy and clumpy to smooth and stretchy. Cover the bowl with plastic wrap or a clean kitchen towel. (this stretch and fold include the bulk fermentation process this will go up to 4hr or slight may vary depending on the kitchen temp).
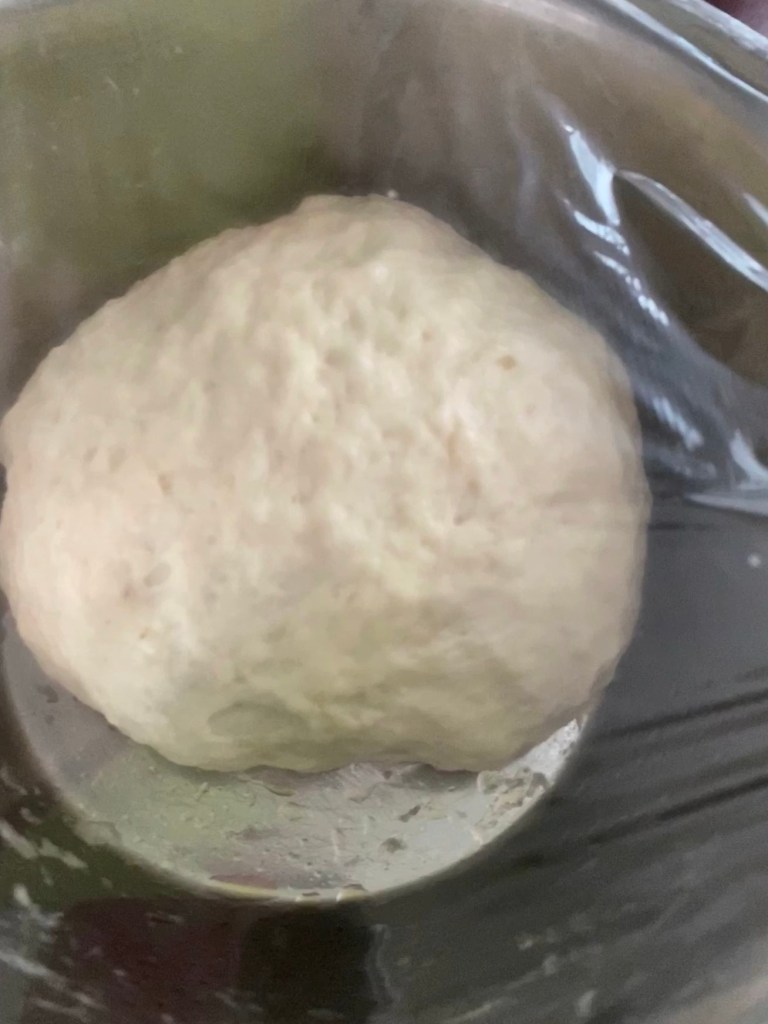
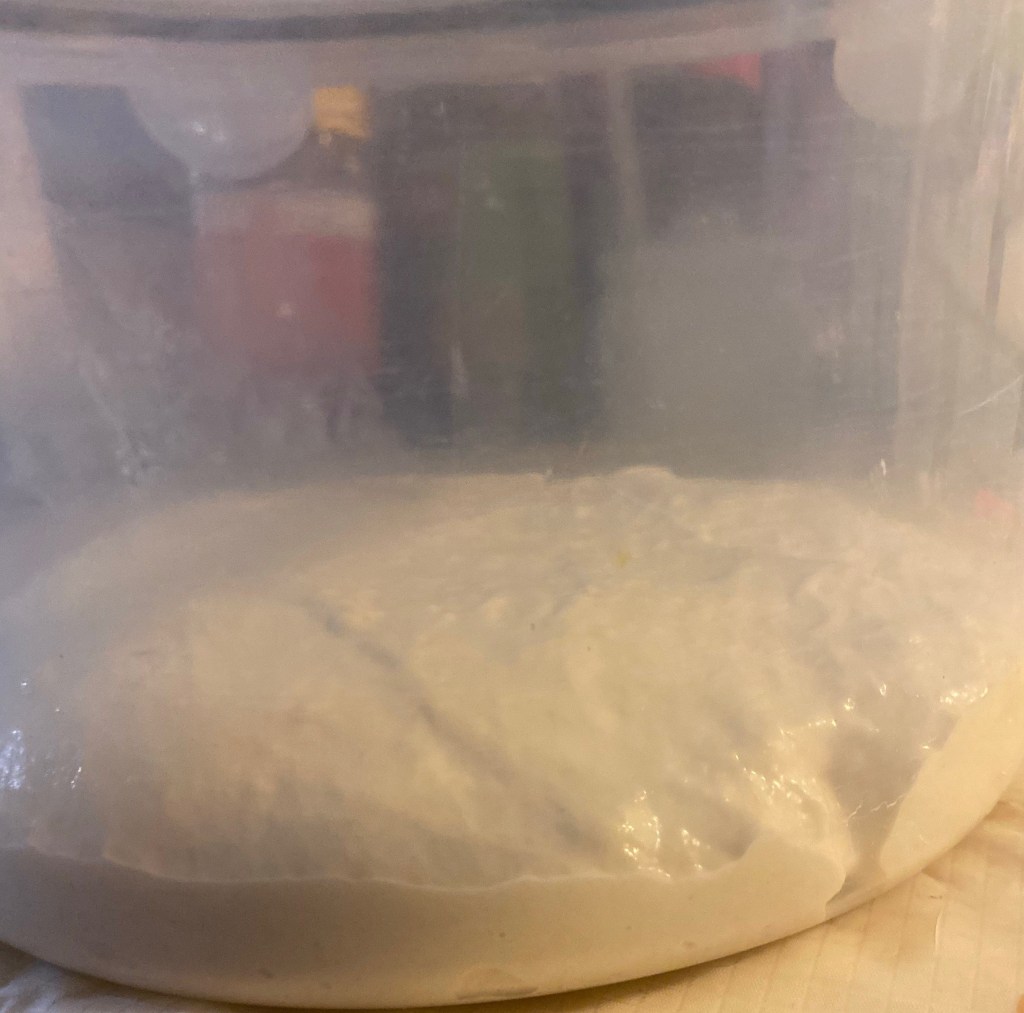
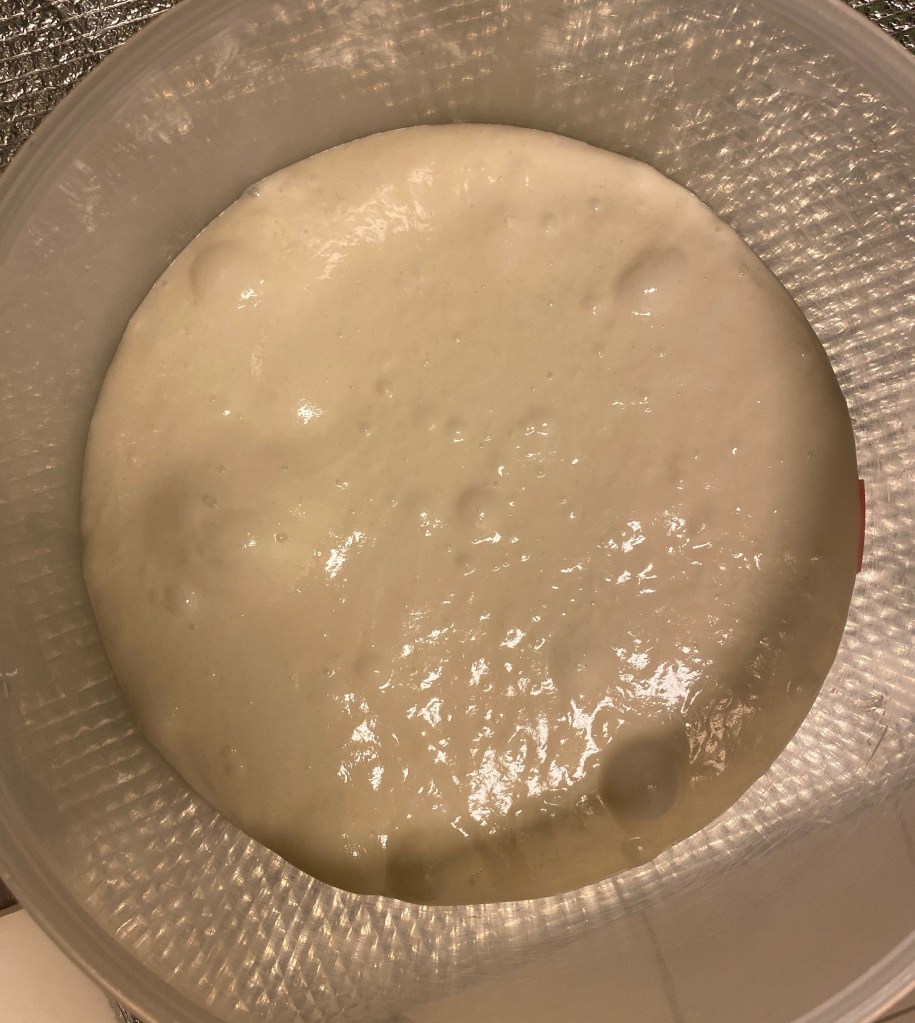
Step 3:Bulk fermentation
This is one of the important stage in your bread making process.After the stretch and fold let the dough rest until increase its volumes about 50-60%(better keep the dough in a glass or plastic rectangular container so you can mark ,you can even see how much it grow it’s volume).This dough won’t double in size the way regular, non-sourdough breads will,it should just look larger than it did when you started.
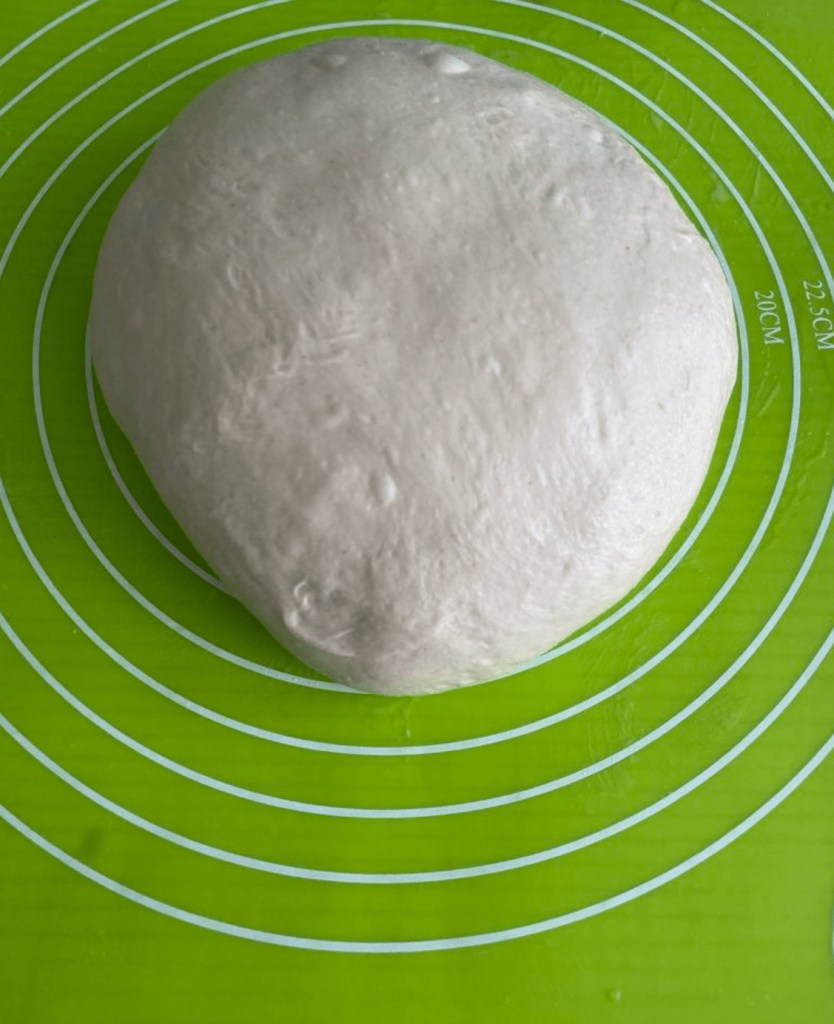
Step 4:Preshaping
Sprinkle some flour on a work surface and turn the dough out on top. Work gently to avoid deflating the dough.Take each sides of the dough ,fold and form it into a loosely round shape with just enough tension on the outside.
Preshaping gives an extra chance to add strength to the dough.Use a bench knife for this process (easy to handle the dough ).let it rest for 20-30 mint(bench rest).
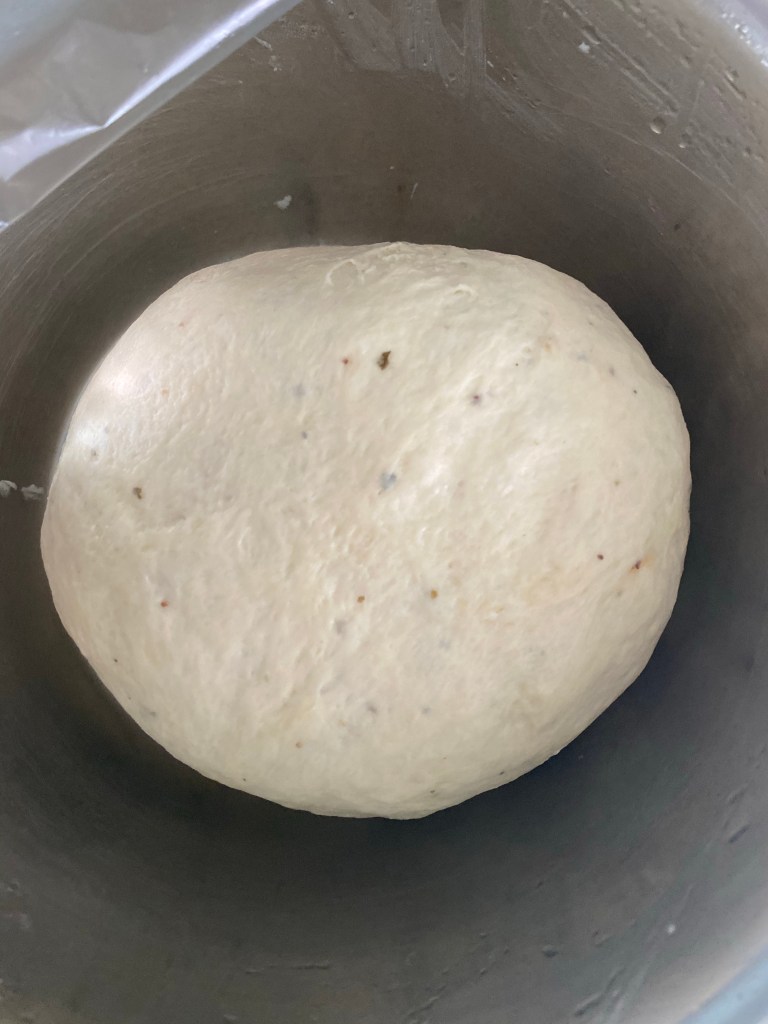
Step 5:Final shaping
Shape them into rounds by slipping your bench knife or pastry scraper under the edge of the dough and then scraping it around curve of the dough, like turning left when driving. Do this a few times to build the surface tension in the dough
Step 6:Proofing
Make ready your proofing basked layered with flour (banneton) Dust the tops and sides of the shaped loaves generously with flour. Place them into the proofing baskets upside down, so the seams from shaping are on top.
Cover the baskets loosely with plastic wrap, or place them inside clean plastic bags. Retard this banneton (proofing basket)in the fridge for overnight proofing
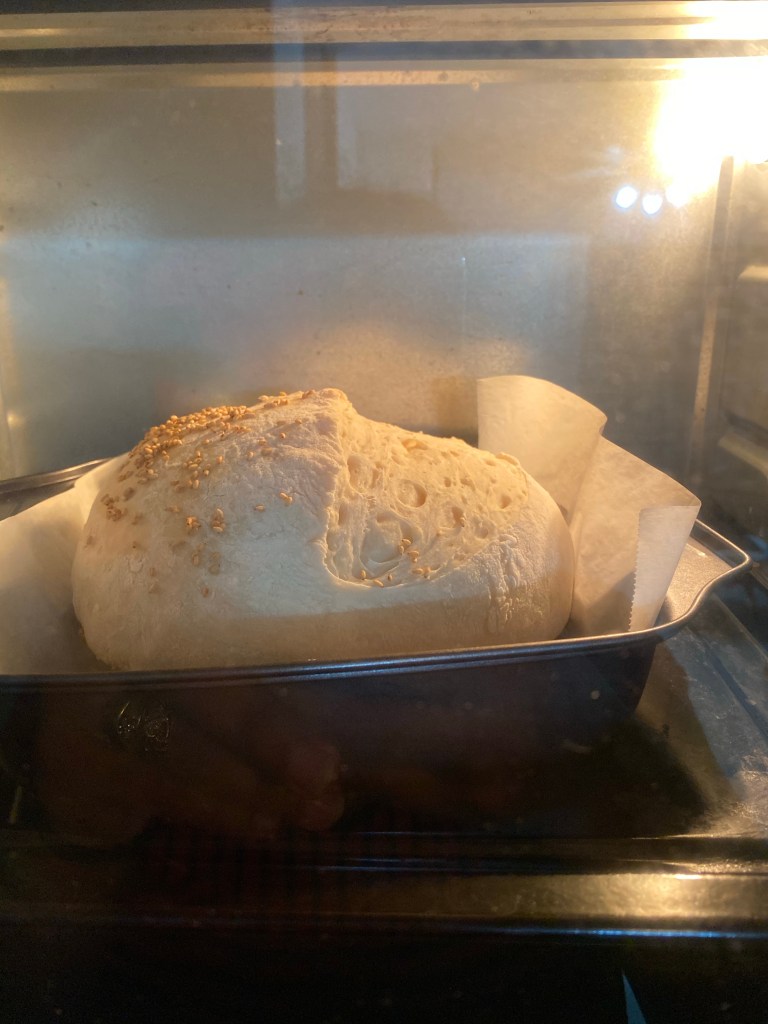
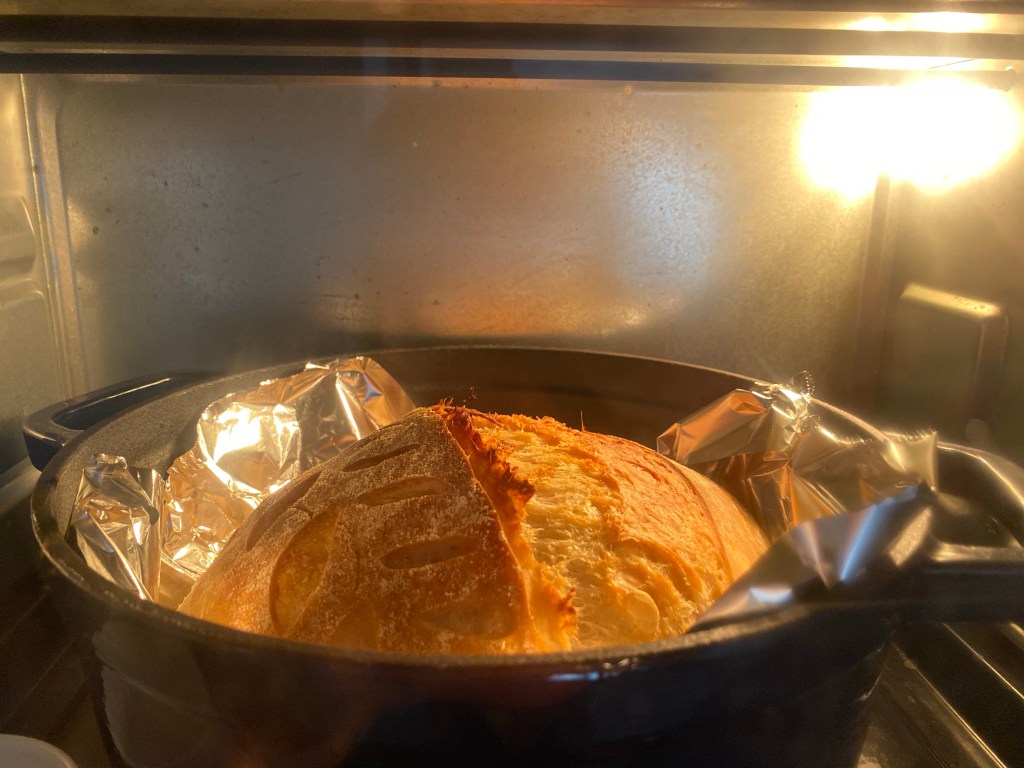
Step 7:Baking
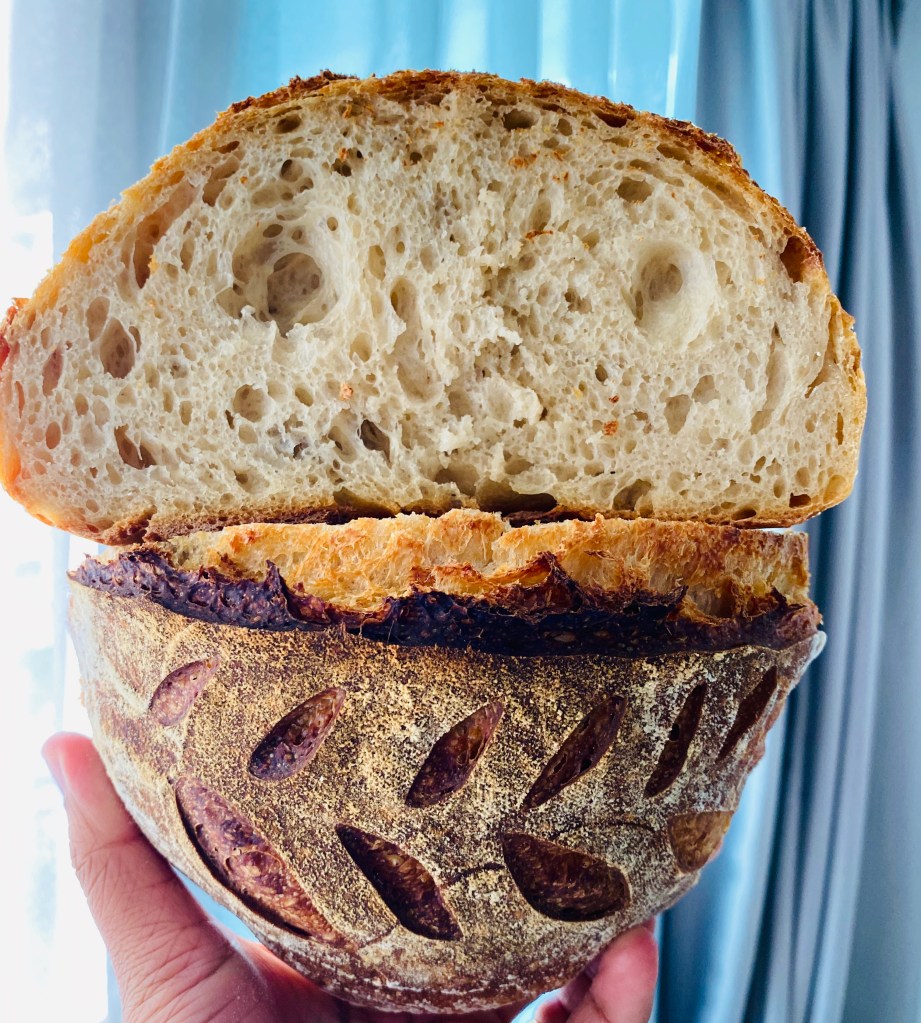
Place two Dutch ovens or other heavy-bottomed pots with lids in the oven, and heat to 250•c for preheat about 50-60mint.Once this ready ,take out the dough from fridge and use a lame, sharp knife, quickly score the surface of the loaves. And transfer this to the Dutch oven.Bake the loaf 230•c for 20-25 min with Dutch oven lid on and 230•c without loud for another 20-25 mint .At this point, the loaf should have “sprung” up, have a dry surface, and be just beginning to show golden color.
To get good oven spring spray some water on the dough before put the dough into the oven.
Oven spring
In bread baking, the final burst of rising just after a loaf is put in the oven and before the crust hardens. When the dough hits the hot oven, it can puff up to as much as a third of its size in a matter of a few minutes.
Step 8:Final stage
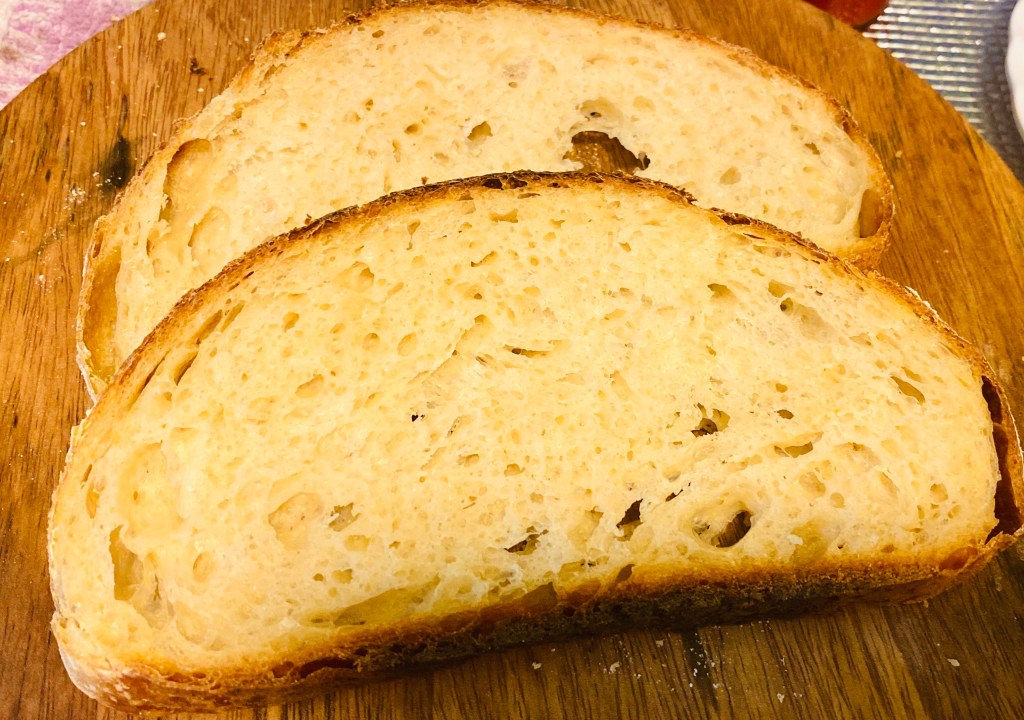
Once the baking done left the loaf in the oven for another 5-7mint (oven off).Then take out from the oven ,lift the loaf out of the pots (hold the parchment paper from the sides to pull out from the Dutch oven).Transfer them to wire racks to cool completely. Wait until they have cooled to room temperature before slicing(2-3hrs).If you cut the bread before it completely cool down ,the bread may became chewy.